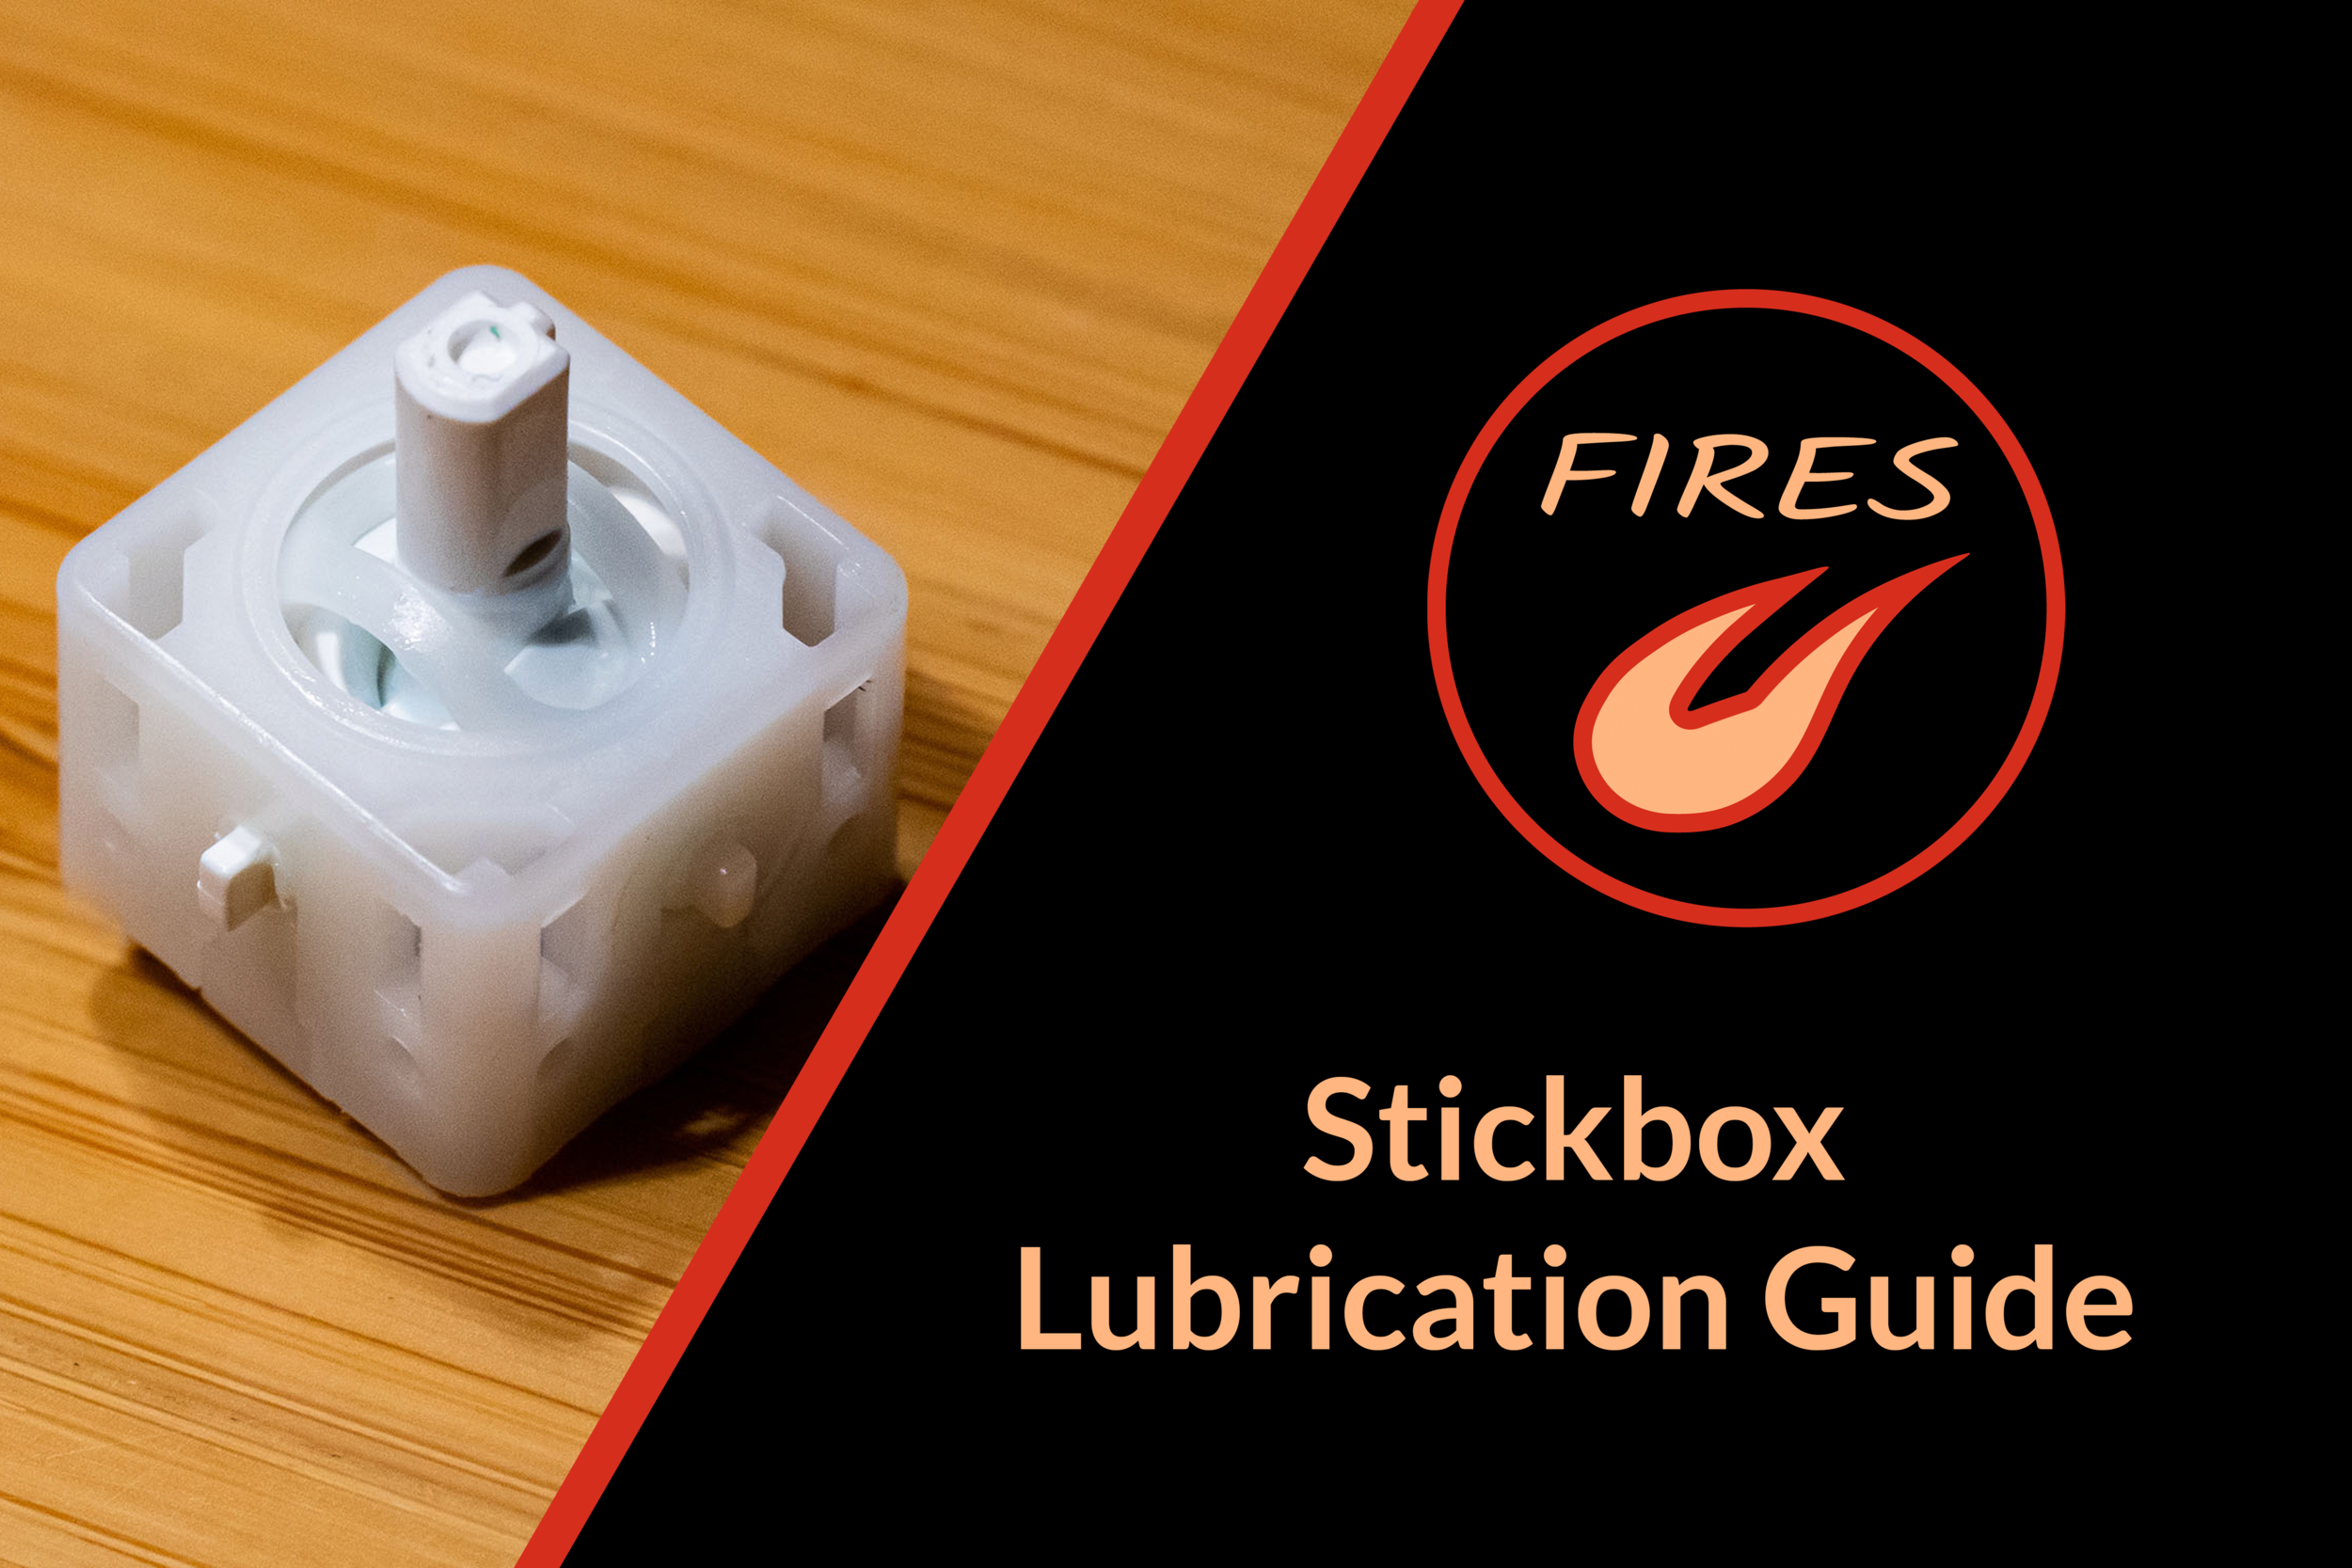
Keep your joystick in tip-top condition with a fresh application of lubricant! This guide provides step-by-step instructions for cleaning and lubricating GameCube controller stickboxes. This simple maintenance practice is important for stickboxes of all kinds - whether a grungy Ebay find, or a competitive conch in need of a slight tune-up.
For best results, Type-3 (all-plastic) Nintendo stickboxes are recommended! However, Type-1 and Type-2 (metal-housing) stickboxes can still be cleaned and lubricated.
Time:
15-20 min
Difficulty:
No specialized skills or expertise required.
Type:
Performance / Functional Mod
Bulk Cost:
Under $1 per stickbox
Tools Required:
- Plastic spudger or other pry tool A spudger with one pointed end and one flat end is preferred. Other prying tools will also work, just be careful not to damage parts during this mod.
- Screwdrivers Triwing Y2.5 and Phillips #0 for stock screws.
Torx T5 and T8 if you’ve done the torx screw upgrade - 90%+ isopropyl alcohol
- Small syringe or toothpick A small syringe works best for applying grease precisely, especially if you're working on many controllers. A toothpick will also do just fine.
Parts List:
- Molykote 44 "Light" Grease: Dow Corning Molykote 44 Light Grease, 150g Tube
This high-quality grease is the proven "go-to" in GCC modding. However, feel free to experiment with your own! Be sure that any grease you choose is chemically compatible with plastics (check the data sheet). NLGI Grade-1 is recommended as this is (a) thick enough to stay in place where it needs to, while being (b) thin enough not to cause excess drag while playing).* I also sell pre-packaged syringes of stickbox grease on my Etsy store.
Removing the Stickbox:
Open controller shell and take out PCB:
Remove the six shell screws. Set aside the bottom half of the controller, and remove the circuit board from the top half. You can also set aside the top shell.
Remove stick caps:
Pull each stick cap straight outwards to remove it.
Unclip potentiometers:
Use the flat side of a plastic spudger to unclip the potentiometer. You will want to pry the potentiometer outwards rather than force the spudger downwards (which can cause damage).
Other thin prying tools will also work perfectly fine. Take extra care if your tool is metal as there is greater risk of damaging the stickbox nubs or potentiometers.
Type-1 and Type-2 (T1/T2) Stickboxes
A note on T1/T2 stickboxes:
Just as T3 stickboxes are considered the “best” in terms of longevity and performance, so too are they the easiest to work with in terms of servicing, cleaning, and lubrication. If you’re a competitive player and have the option, I’d recommend seeking out a T3 board if you can!
That said, there are still some tricks we can use to help out T1/T2 boxes.
Clean with isopropyl alcohol:
Dip a q-tip into isopropyl alcohol, let the excess drips fall away, then gently clean the stickbox via the top opening
An image of the target lubrication sites is shown - these are the same parts you’ll want to focus on with isopropyl alcohol (the image shows a T3 stickbox but the process is the same).
Rub your q-tip into the faces and corners of the central plastic pieces. Move the stick around as you go so you reach as much as possible. Don’t go overboard with the amount of isopropyl alcohol used, as other parts of the mechanism lie below and excessive drips will dissolve away what lubricant remains down there (we can’t reach that to re-lubricate it).
Lubrication:
Apply lubricant to the points shown. Pay attention to which surfaces press against / slide along which, and make sure to get some lubricant there. Just a small drop at each spot will do!
If you are determined to open the stickbox:
Desolder the stickbox from the PCB. Once it’s free, flip it to the bottom side to find four metal prongs which are bent inwards over the plastic base. Carefully pry these open using a small tool (such as a metal pick or small needlenose pliers) and the assembly will come apart. This will let you lubricate the full mechanism in its entirety!
Type-3 (T3) Stickboxes
Unscrew stickbox:
With the potentiometers unclipped, unscrew and remove the stickbox. Each is held on by two screws.
Open stickbox:
We will open the stickbox using a thin and rigid tool (plastic spudger or tweezers) to prevent damaging it.
The stickbox opens most easily from one side - the corner with the white potentiometer nubs sticking out.
Slide your tool under the bottom lip of the stickbox, and carefully lift it straight outwards. The bottom will pop open - it should not take much force. Do not pry on the corner as this can damage or bend the edge.
Clean with isopropyl alcohol
With the stickbox taken apart, now is a great opportunity to clean the entirety of the stickbox. Clean the parts using q-tips dipped in isopropyl alcohol. Pay particular attention to the locations we plan to lubricate (see below).
Shameless plug: With the stickbox fully disassembled, now is the perfect time to install a SLICKbox mod!
Apply lubricant:
Using your toothpick or lubricant syringe, apply a small dot of lubricant at each point marked in the images at left.
White Dots: Apply to the location shown
Black Dots: Apply to the reverse side (between stick shaft “wings” and the cutouts it sits inside)
Reassemble and reinstall stickbox:
Close up the stickbox once more. There is only ONE way the upper and lower halves fit together (two little triangular clips on the spring assembly fit into grooves on the upper half). If it’s not closing up, try rotating it 180 degrees.
Using a clean tissue or q-tip, wipe away any excess grease that has oozed out through the sides of the stickbox.
Drop the stickbox into place on the board, clip on the potentiometers (make sure they are rotated to center), and screw the stickbox in from the back.
The performance of most stickboxes is unaffected by how tightly you fasten the screws. However, a small percentage are affected due to manufacturing variations. If your stickbox feels rough or gets stuck, try slightly loosening the mounting screws. Of course, take care not to overtighten the screws as the stickbox threads will strip!
Reassemble Controller:
From here, put the stick caps back onto the sticks and reassemble the controller. Ensure the button pads and trigger sliders are properly placed before closing everything up. Once it’s sealed up, you’re all set!


