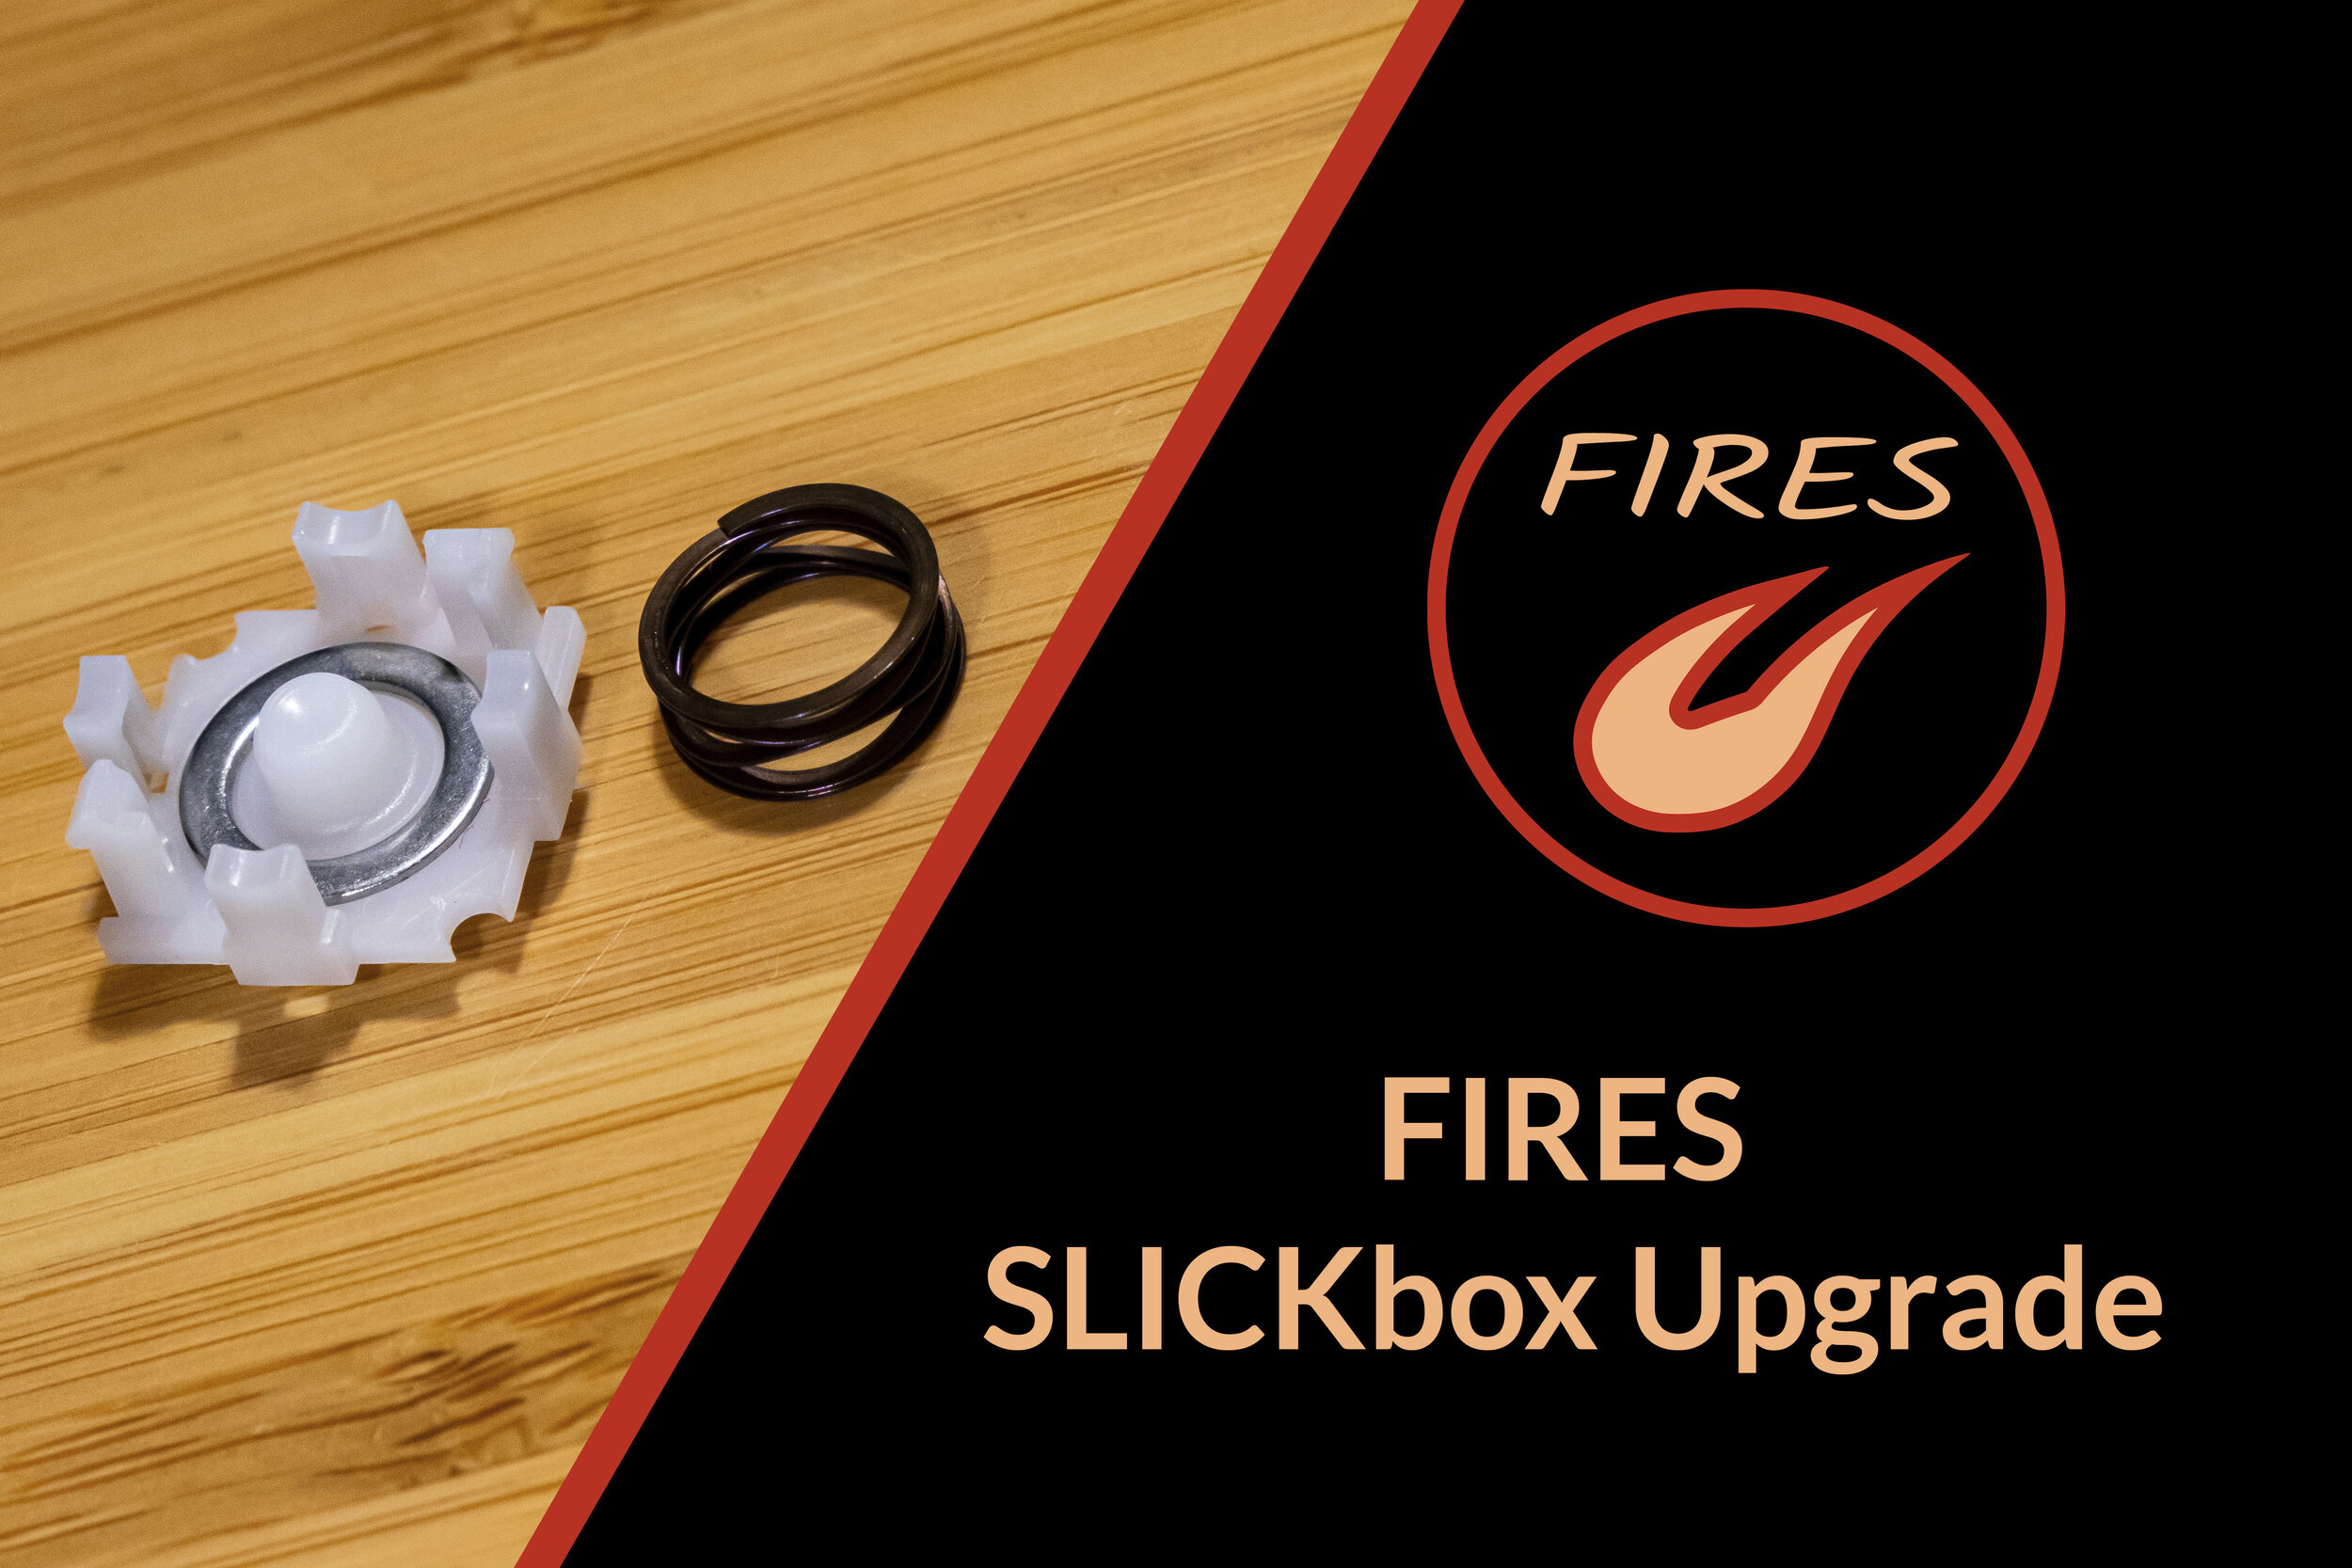
The SLICKbox mod drastically improves stickbox lightness, feel, and longevity for Type-3 (all-plastic) stickboxes in GameCube controllers. This results in significantly easier tilts and less stress on your hands. The feel is reminiscent of a comfortably worn-in box, but without deadzone or wobble around the centerpoint. The mod itself is easy and straightforward to perform and is accomplished by upgrading to a special new spring. This mod works best with fresh / unworn stickboxes - results will vary with the level of stickbox wear.
This mod is compatible with Type-3 (all-plastic) Nintendo stickboxes only! It will not work on older Type-1 and Type-2 (metal-housing) stickboxes.
Time:
15-30 min
Difficulty:
No specialized skills or expertise required.
Type:
Performance / Functional Mod
Bulk Cost:
~$3 per stickbox
Tools Required:
- Plastic spudger or other pry tool A spudger with one pointed end and one flat end is preferred. Other prying tools will also work, just be careful not to damage parts during this mod.
- Screwdrivers Triwing Y2.5 and Phillips #0 for stock screws.
Torx T5 and T8 if you’ve done the torx screw upgrade
Parts List:
- 4-lb 0.15" Wave Disc Spring (1x per stickbox): 4-lb, 0.15" height wave disc spring, 1/4" ID
- Precision Ring Shims (1x per stickbox) - Three Standard Options:
- 0.020" Stainless Steel Ring Shim: Feather weighting. Lightest and most "slippery" feel, but causes moderate increase in snapback. May cause too much snapback for Melee.
- 0.025" Stainless Steel Ring Shim: Light weighting. Mildly increases snapback.
- 0.030" Stainless Steel Ring Shim: Moderate weighting. A lighter and more linear feel than Nintendo OEM, with minimal snapback.
For bulk orders, both US domestic and international, contact me via Twitter: @FiresCustom
Removing the Stickbox:
Open controller shell and take out PCB:
Remove the six shell screws. Set aside the bottom half of the controller, and remove the circuit board from the top half. You can also set aside the top shell.
Remove stick caps:
Pull each stick cap straight outwards to remove it.
Unclip potentiometers:
Use the flat side of a plastic spudger to unclip the potentiometer. You will want to pry the potentiometer outwards rather than force the spudger downwards (which can cause damage).
Other thin prying tools will also work perfectly fine. Take extra care if your tool is metal as there is greater risk of damaging the stickbox nubs or potentiometers.
Unscrew stickbox:
With the potentiometers unclipped, unscrew and remove the stickbox. Each is held on by two screws.
Stickbox Spring Upgrade:
Open stickbox:
We will open the stickbox using a thin and rigid tool (plastic spudger or tweezers) to prevent damaging it.
The stickbox opens most easily from one side - the corner with the white potentiometer nubs sticking out.
Slide your tool under the bottom lip of the stickbox, and carefully lift it straight outwards. The bottom will pop open - it should not take much force. Do not pry on the corner as this can damage or bend the edge.
Once open, set aside top half of the stickbox mechanism.
Open spring assembly:
This is the bottom half of the stickbox mechanism - the spring assembly.
Be very careful when opening this. The spring is under preload and can easily go flying - a potential eye hazard! Be sure to open this with the spring facing away from your face and away from any other people.
The spring assembly can be opened by unclipping the top plate from the four pillars that hold it in place.
Remove stock spring:
With the spring assembly open, set aside the old spring and collect your new parts.
We will be installing one spring and one shim per stickbox. Pick the shim thickness appropriate for your case (see parts list above).
Install new shim and spring:
The shim sits below the spring - you will find it nestles perfectly in an existing groove in the plastic base. Install the spring next, then clip the top plate back in place.
OPTIONAL: Clean and lubricate stickbox
With the stickbox taken apart, now is a great opportunity to clean and lubricate the rest of the stickbox. Clean out exiting grime / lubricant using isopropyl alcohol before applying new lubricant. Dow-Corning Molykote 44 (Light) is recommended.
White Dots: Apply to the location shown
Black Dots: Apply to the opposite side of the part
Reassemble and reinstall stickbox:
Close up the stickbox once more. There is only ONE way the upper and lower halves fit together (two little triangular clips on the spring assembly fit into grooves on the upper half). If it’s not closing up, try rotating it 180 degrees.
To reinstall the stickbox on the board, drop it into place, clip on the potentiometers (make sure they are rotated to center), and screw the stickbox in from the back.
The performance of most stickboxes is unaffected by how tightly you fasten the screws. However, a small percentage are affected due to manufacturing variations. If your stickbox feels rough or gets stuck, try slightly loosening the mounting screws. Of course, take care not to overtighten the screws as the stickbox threads will strip!
Reassemble Controller:
From here, put the stick caps back onto the sticks and reassemble the controller. Ensure the button pads and trigger sliders are properly placed before closing everything up. Once it’s sealed up, time for a test drive! The stick should feel incredibly light, responsive, and provide much easier tilts - all without any added deadzone. The change may take some getting used to (especially if you are a more physical player)!


