
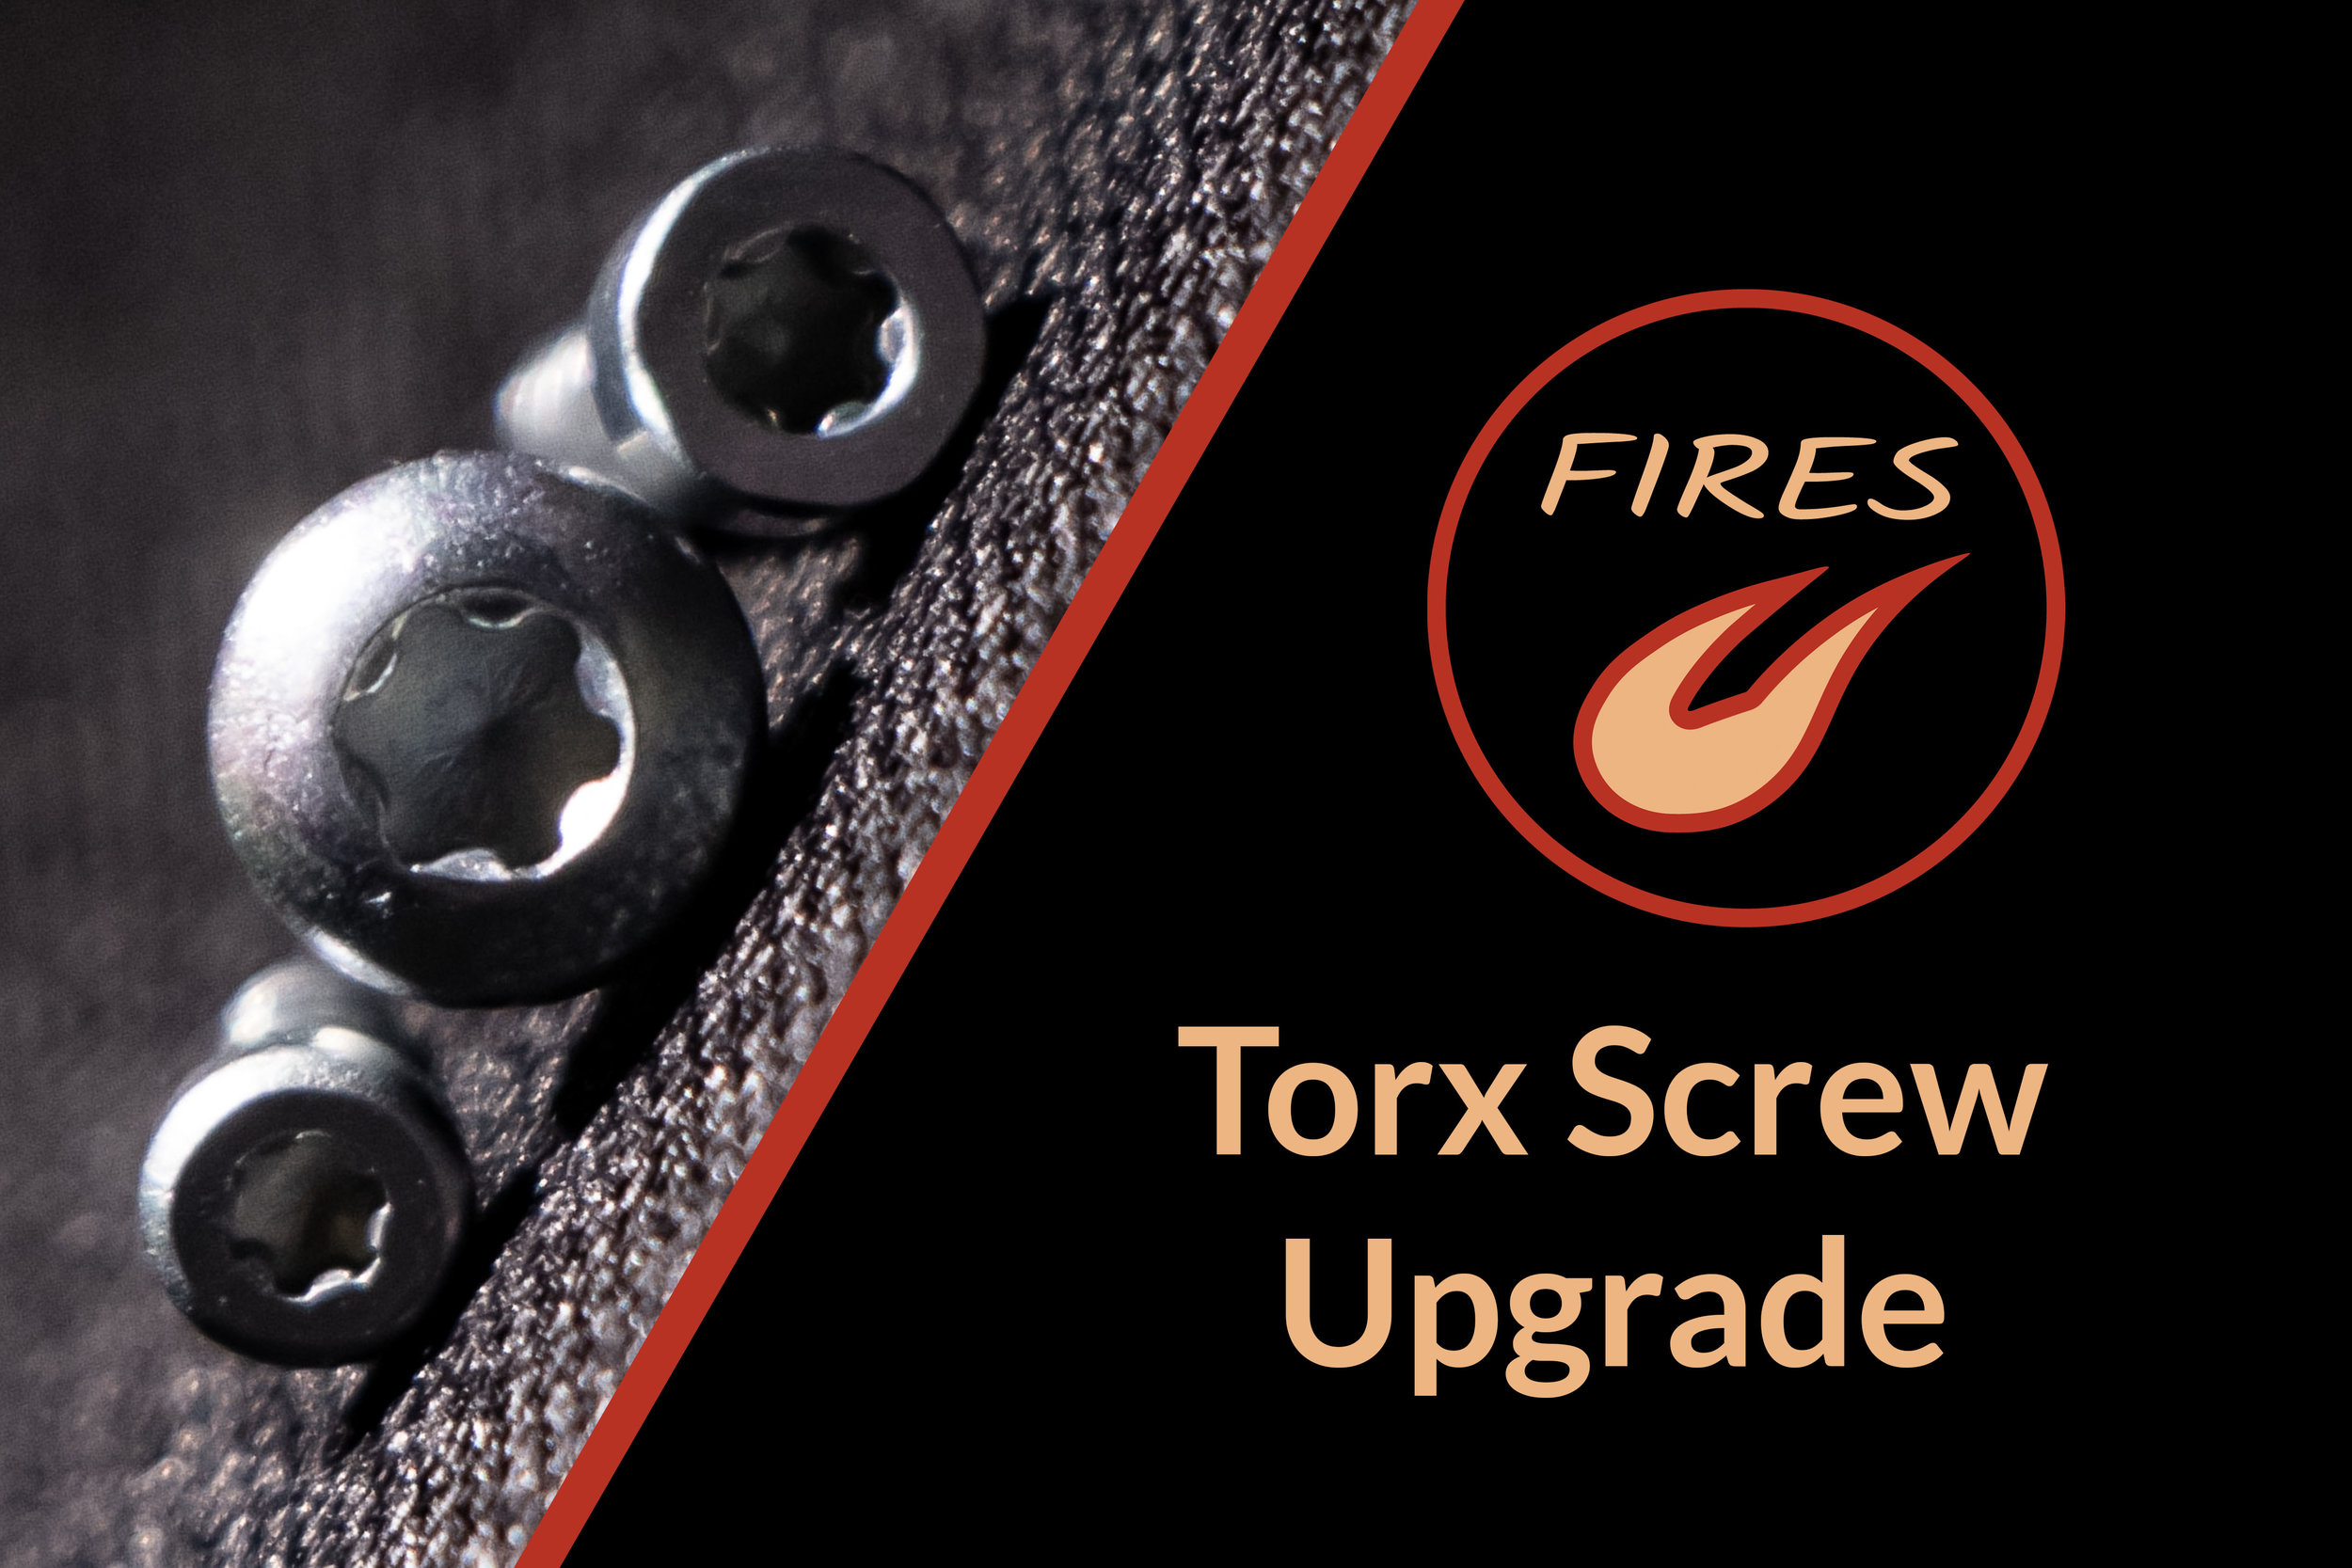

Replace your stock controller screws with higher-quality torx screws! You'll have quicker, easier, & less frustrating access to your controller internals. Opening the shell won’t be a headache anymore, whether it’s the 1st time or the 50th. No more stripped screws, no more slipped screwdrivers, and no more hand strain from pressing down on your screwdriver! This guide includes replacement torx screws for all controller screws - shell, triggers, and stickboxes.
Time:
~10 min
Difficulty:
Very Easy
Type:
Quality-of-Life Mod
Cost:
$3.25 / controller for all screws
$1.25 / $1 / $1 for shell / trigger / stickbox screws
Parts List:
6x Torx Shell Screws: M2.63 x 8mm screws, T8 head (50 per pack from McMaster)
4x Torx Trigger Plate Screws: M2 x 6mm screws, T6 head (25 per pack from McMaster)
4x Torx Stickbox Screws: M1.6 x 5mm screws, T5 head (25 per pack from McMaster)
For bulk orders, both US domestic and international, contact me via Twitter: @FiresCustom
Instructions:
Since all we’re doing is a screw replacement, the process is simple and easy!
Remove shell screws and open controller:
Use your triwing Y0 screwdriver to remove each of the six shell screws.
Remove and replace trigger plate screws:
Inspect the trigger assemblies which reside in the bottom half of the controller. On most controllers, the assembly is retained by two pairs of #00 Phillips screws - if so, remove them now. Replace with trigger plate screws (M2 x 6mm).
Note, many early genuine controllers use a different trigger design and do not have any screws - this is normal.
Remove and replace stickbox screws:
Type-3 stickboxes are fastened to the circuit board by two screws each (Type-1 and Type-2 stickboxes do not have screws). Remove the existing screws and replace them with the new M1.6 x 5mm stickbox screws. Be careful not to overtighten as it’s relatively easy to strip the plastic threads of the stickbox.
Rear side of C-Stick circuit board shown in photo with one OEM screw and one replacement torx screw.
Reassemble controller with new screws:
Reassemble the controller, taking care to push the trigger potentiometers (sliders on the rear of the board) fully forward. Fasten together with the new shell screws (M2.63 x 6mm), and the job is done!
Notes:
If any of the existing screws are stripped, try the rubber band or superglue methods from this iFixit video. If using the superglue approach, I recommend applying superglue to the driver (rather than the screw) to reduce the risk of accidentally dripping glue in unwanted places!
Take care not to overtighten torx screws. Because torx don’t slip like Phillips, it’s easy to apply much more torque - take care not to strip out any plastic threads.
Compatibility with third-party controllers has not been verified; attempt at your own risk.