
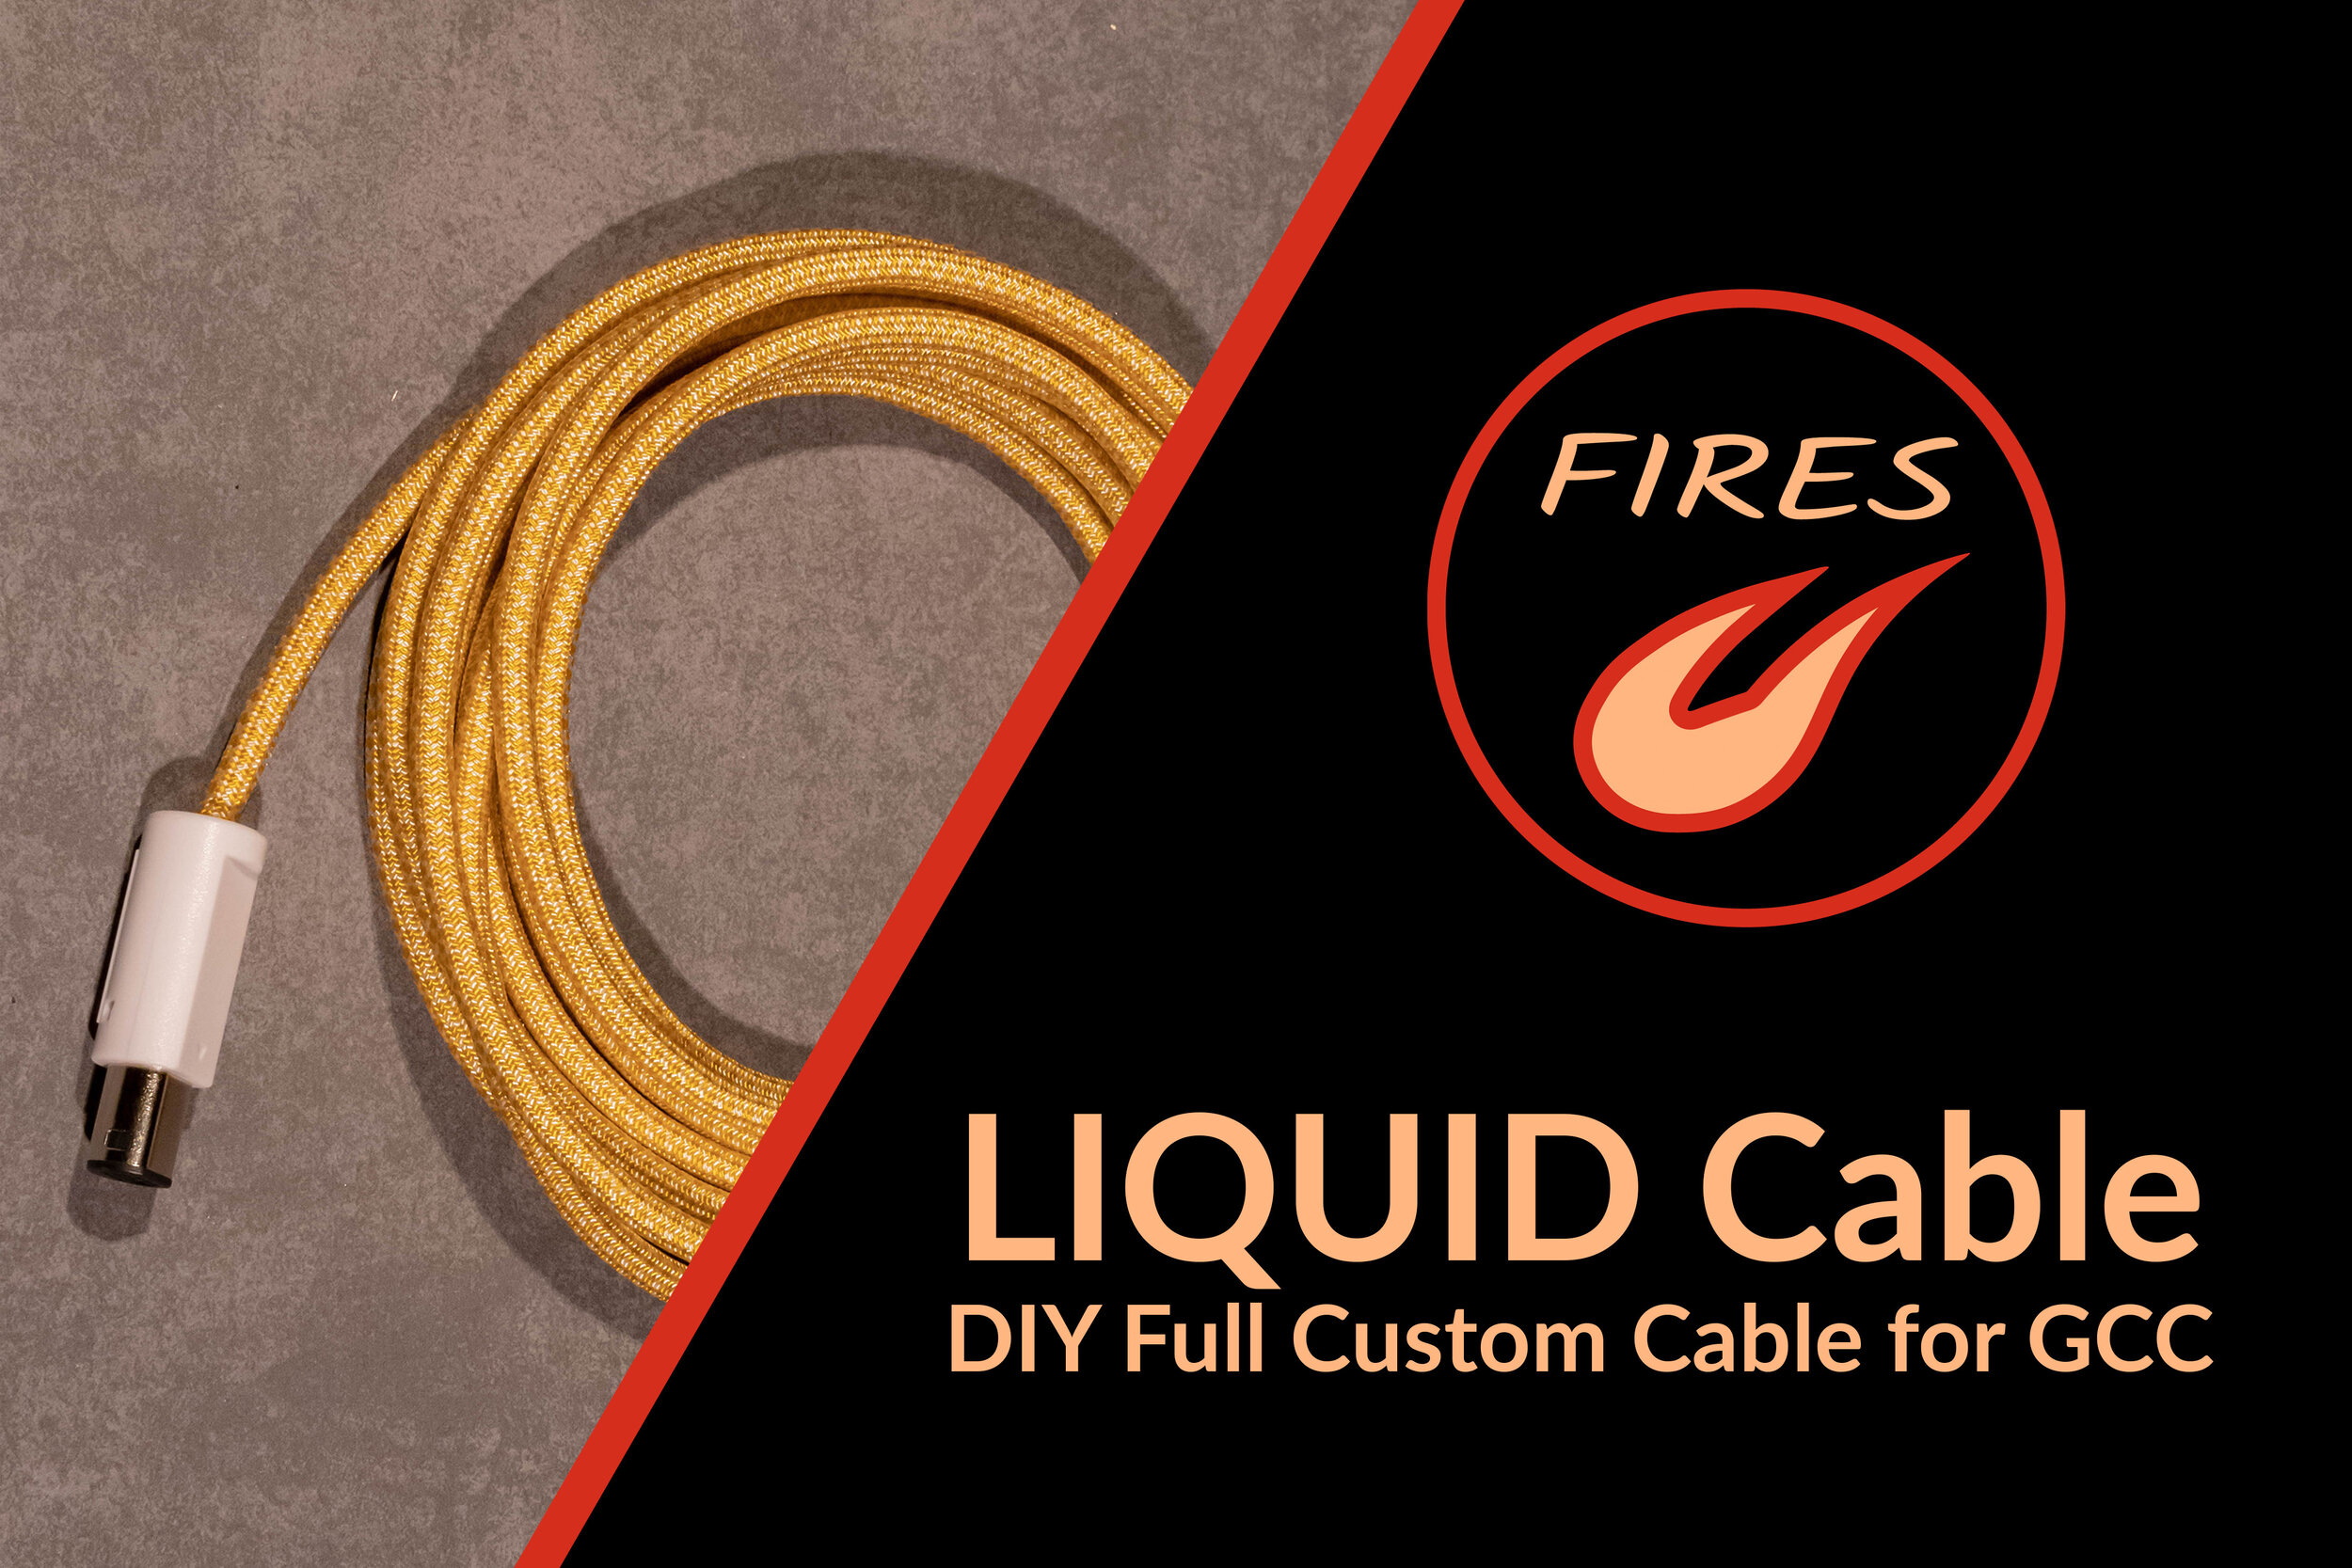

This guide will teach you to make “Liquid Cables” - fully sleeved, fully insulated, and fully shielded GCC cables made entirely from scratch. We will utilize the Tensility 30-01126 cable as our base - a very high-quality and flexible product. Fully-sleeved, this cable will flow through your hands like water - hence the name! Benefits of this mod include:
Building your own GCC cable from scratch - no donor or salvage parts needed
Any cable length can be chosen, whether short or long
No need to strip off rubber insulation - the recommended cable can be sleeved directly!
The cable is fully shielded and properly terminated, thereby rejecting electromagnetic interference. This protects you from ghost / dropped inputs and ensures top reliability in tournament conditions!
Collaborators:


Time:
~60 min, faster with practice
Difficulty:
Requires soldering.
Type:
Aesthetic & Quality-of-Life Mod
Bulk Material Cost:
~$9 per cable
Tools Required:
- Screwdrivers Triwing Y2.5 for stock screws.
Torx T8 if you’ve done the torx screw upgrade - Electronics flush cutters
- Wire strippersRecommended for outer cable: Irwin 8" Self-Adjusting Wire StripperRecommended for inner wires: Hakko CHP CSP-30-1
- Heat gun or blow dryer
- Cable pin crimperRecommended: IWISS 2820M AWG 28-20 Crimping Tool
- Slip-joint pliers, pliers wrench, or wire strippers with pliers tip
- 2x Small needle-nose pliers Recommended: Hakko CHP PN-20-M Micro Pliers
- Tweezers, preferably blunt-tipRecommended: Hakko CHP 2A-SA Rounded-Tip Tweezers
- Soldering equipment
- SuperglueRecommended: Loctite 4471 Instant Adhesive
Parts List:
- "Liquid" Cable: Tensility 30-01126 Cable, 28AWG, 5 Cores
- Console-Side Plug / Connector Kit: 1x qty Console-Side Plug / Connector
- 1x 15/64" Split-Ring Ferrule (Console End): 15/64" OD, 0.172" ID Slotted Unthreaded Spacer
- 1x 3/16" Split-Ring Ferrule (Controller End): 3/16" OD, 0.144" ID Slotted Unthreaded Spacer
- 1x Controller-Side Receptacle: JST PA-F Series Header, 6 Positions, 2mm Pitch
Click Here to search alternate suppliers in case of stock shortages - 1x Controller-Side Plug: JST PA-F Series Plug, 6 Positions, 2mm Pitch
Click Here to search alternate suppliers in case of stock shortages - 6x Controller-Side Pins: JST PA-Series Connector Pins Buy lots of extras your first time around
Click Here to search alternate suppliers in case of stock shortages - ~1/2" length Small Heat-Shrink (for shielding): 0.02" ID post-shrink
- 6mm Heat-Shrink: MDPC-X 6mm 4:1 Heat-Shrink Any ~6mm heat-shrink works
- Zip Tie (Optional)
- Size "550" Paracord: Source from vendor of your choice. Note that 550 paracords are not all one consistent diameter. Some are smaller / tighter and will be more difficult to sleeve. Paracords with metallic tracers often won't work - they are too small and catch on the cable. If you're having trouble it might be the paracord!
Other cables can be substituted, but they should have 5 conductors, spiral shielding, and an outer insulation diameter of 3.6mm or less. One less expensive alternative is: AliExpress, Gray, 28AWG, 5 Cores
Build-Along Video Guide
Thanks to TeflonTrout for his build-along video to accompany the full guide below!
Preparation and Cable Sleeving
Note: This guide was written about 1 month before the Tensility cable was released.
The process is the same, aside from the color of the cable!
Cut cable to length:
Cut your cable to the desired length. For reference, stock Nintendo controllers lengths of 2 and 3 meters (~6.5 / 10 feet).
If necessary, clean the edge by trimming away any sharp edges, corners, and protruding wires. This will help prevent the cable from getting stuck while sleeving.
Cable Sleeving:
Pull out the inner nylon strands from your paracord as we will only use the outer sheathing. Note that some paracord sleeving is sold without the inner strands.
Apply a small amount of superglue to the tip of the cable. The goal is for glue to seep into the cable and prevent shielding and wires from working their way out during sleeving (they catch on the paracord and bind up the process). An easy way to do this is to squeeze a drop of glue to the end of the bottle, press the cable up to it, allow the glue to wick in on its own, then let it dry completely. (Note that it may take a few hours for the glue bond to strengthen enough to hold, even though it may “dry” within just a few minutes!)
After drying, trim any sharp outer edges to prevent them from catching inside the paracord.
Sleeve the paracord over the cable. This is easiest using an “inchworm” approach, feeding paracord over the end of the cable a bit at a time. Don’t let the sleeved portion bunch up too much as it can bind up.
Not all 550 paracords are the exact same size, so some jobs are MUCH easier than others. If you’re having a lot of trouble, consider trying a different paracord style or brand. Although most sleeve quickly and easily, some are a bit too tight.
Paracords with metallic tracers tend to be smaller and less workable - they will sleeve on the Tensility/DigiKey cable with some work. Sleeving with metallic tracers is very difficult (if not impossible) on the AliExpress cable.
(Optional) Determine console and controller ends:
Although the cable can be made in either orientation, usually one of them is easier to work with when installing wires into their slots later on. For the wiring convention used in this guide, these orientations are recommended.
Sometimes a pair of wires will get switched around, as can be seen in these photos (the brown and black wires in the Controller Side image are “switched” compared to the diagram). This is normal, just try to pick the ends that correspond most closely with the diagram.
Regarding wire colors: the Tensility cable from DigiKey includes a blue wire, while the AliExpress cable has a brown one. All other colors are consistent.
Console-Side:
Preparation:
Slide the plastic and metal plug housing parts onto the cable. The smaller opening (plastic housing) and wings (metal housing) should face away from the console-end of the wire.
Wires and shielding:
Strip off about 1.5” (~40mm) of the outermost insulation. Note, you may need to adjust the tension on your wire stripper tool to cleanly strip the outer insulation without damaging the shielding.
These AliExpress wires often have residual particles from manufacturing. Using a wet paper towel, clean off all of this material from the wires and shielding (and wash your hands afterwards).
Collect the exposed shielding and twist it together as shown.
Cut the colored wires so they are only ~1/2” (13mm) long. Do not cut off the twisted shielding!
Strip Wires:
Strip the ends of the five wires. Only a small stripped section is necessary.
Crimp pins:
If you haven’t done it before, pin crimping on small wires takes a bit of practice to get used to. Finding the right crimp pressure is important: too loose and it won’t hold; too tight and it will over-deform the pin and slice the wire, making it very easy to break or cutting through it entirely. I highly recommend practicing on separate wire until you are comfortable with it!
Crimp the console-side pins onto the five wires. Each pin has three sets of “wings”:
Rear Wings: Crimps to the insulation
Center Wings: Crimps to the conductor
Forward Wings & Prong: Not crimped. Used to locate and secure the pin in the plug.
It’s easiest to crimping the center “wings” first (onto the conductor). The 1.3mm slot is recommended if using the linked crimping tool. Crimp the rear insulation “wings” second (1.6m slot on the linked tool).
If crimped correctly, each pin should hold firmly to the cable without any tears or breaks.
Finally, check that the “prong” between the forward wings has not been pressed flat (which will prevent the pin from holding in place in the next step).
Install Pins in black endpiece:
Install the wires into the black endpiece in the order shown. Since the wires are very short, get them all started in their respective slots before fully installing any.
The “wings” on each pin should face towards the center of the plug.
With all pins started in their slots, gently slide each pin forward using a blunt tweezers or small needlenose pliers. You may or may not hear a small “click” for each pin, but pins should not pull out after fully installed.
If a pin isn’t clicking into place, the prong between the forward “wings” is probably bent flat. This can be fixed using a toothpick or other small, pointed object.
Slide metal housing into place:
Fold the twisted shielding backwards so that it runs along the side of the sleeved cable. Slide the metal housing forward and over the black endpiece. It should click when fully installed.
Route the shielding between the metal housing clamp and the sleeved cable. Don’t close the clamp quite yet.
Prepare the larger (15/64”) wire ferrule:
Unfortunately the clamp wings on the metal housing are not strong on their own and are insufficient for fulfilling their main purpose: holding tightly to the cable and preventing the wires from being pulled out.
Nintendo solves this problem using a secondary wire ferrule - we will do the same. This extra metal clamp ensures the housing holds firm to the cable and prevents damage or tear-out if the cable is yanked, tripped over, etc. Without it, pulling loads would transfer through to the tiny pins we just crimped!
Pry open the larger of the two ferrules (15/64”). This can be a bit tricky and is easiest using a pair of small needlenose pliers.
Strain Relief:
Before clamping anything, feed a bit of extra cable into housing. You won’t be able to push it in very far, but this will ensure that the wires inside are not pulled tight and no strain is transferred through to the pins.
Second, clamp the housing wings, making sure the shielding is inside the clamp (between clamp and cable). Make sure it isn’t pulled taut and has some extra length inside for strain relief. This spot is where the shielding connects electrically with the metal housing.
Third, clamp the ferrule tightly into place using small pliers and trim away excess the shielding.
Finally, tilt the clamped assembly slightly inwards. If any parts protrude over the top surface of metal housing the plastic plug housing may not be able to slide into place.
Plastic plug housing:
The last step on this end is fitting the plastic housing. You’ll need something that can apply even pressure to both sides of the plug so that you can push it squarely over the metal housing. In these photos the handle section of a wire stripper tool was used.
The housing may or may not “click” as it slides into place. If it does not, you can confirm fitment by comparing the length of the exposed metal section against against a factory Nintendo controller.
All done! Time to deal with the controller side.
Controller-Side:
Heat Shrink:
Before going any further, slide the larger heat shrink (about 1/2” or 13mm long) onto the controller side of the cable.
Wire & Shielding Prep:
Cinch the end of the paracord up the cable to expose the last few inches.
As before, strip off about 1.5” (~40mm) of outer insulation. Clean off any residue or dust from manufacturing and wash your hands afterwards.
Separate the exposed shielding into two groups. Trim one of them off at the base and twist the other together.
Wire Prep:
This time do not cut the wires short, strip the ends at the current length.
Cut a section of small-diameter heatshrink to match the length of the other wires, slip it over the exposed shielding, and heat shrink it into place. This heatshrink is important for preventing the shielding from fraying, splitting, and tearing out (which it will do quickly if this step is not taken!)
Pin Crimping:
Crimp the controller-side pins onto the five wires and the heat-shrunk shielding. Although the pins are a different shape from before, the process is the same.
Controller-Side Plug:
Insert the wires into the controller plug housing in the order shown.
The plug has a series of tabs / openings on one side, and each pin has a tiny barb on its flat side (opposite the wings). Each pin should be installed such that the barb and tab are on the same side. For the parts listed, this side is opposite the plug’s thumb tab.
Each pin should be pushed in deeply enough that the barb is visible in the window tab. If not, the pin is not pushed in far enough and will easily slip out (or it’s upside down).
A rounded toothpick or other small, blunt-tip tool is very useful to help push each pin in all the way. Try to push on only the pin and not the wire itself to prevent them from being damaged.
Remember, the blue / brown wires are equivalent on the Tensility / AliExpress cables, respectively.
Trim Excess Paracord:
We can now pull the paracord back over the cable, carefully trimming away the excess length.
Don’t trim away too much at once - the goal is to trim the paracord flush with the end of the cable insulation.
Install Ferrule:
Prepare and clamp the smaller ferrule at the end of the cable.
Heat Shrink:
Feed the heat shrink back over the end of the cable, covering the ferrule and the base of the wires. Heat it to secure it into place.
As you’re heating, twist the cable to the side as shown. The heat will help set the wires into a more appropriate shape when installed.
Final Steps:
Solder Plug Receptacle:
If you haven’t already, desolder the original cable from the PCB.
Solder in the new receptacle as shown. The latch tab should face outwards away from the rumble motor.
Install & Trim Shell:
Install the cable and optionally include a ziptie to hold things in place.
It’s highly recommended to slightly trim the backside of the shell at the location shown. Your new custom cable is slightly thicker than stock. Without trimming, it can be slightly squeezed between the shell and PCB. This isn’t a major problem for the cable itself, but it can cause the shell to fit poorly and sometimes even cause the right trigger to jam up.